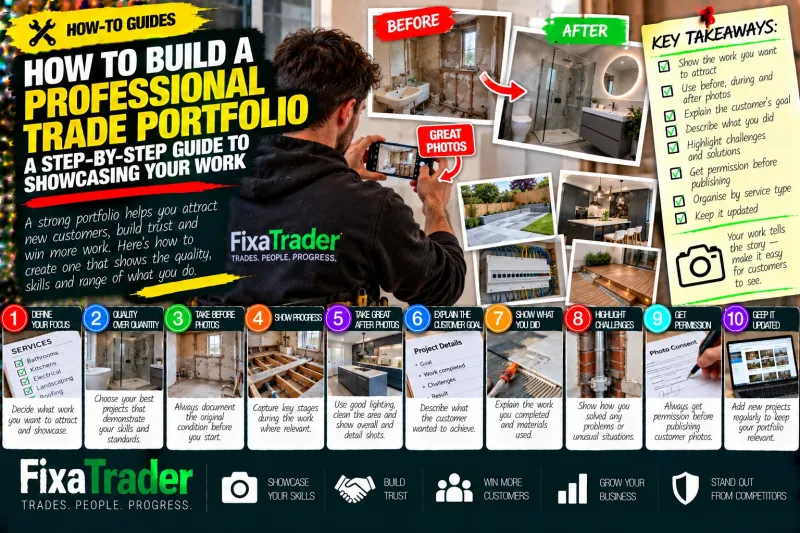
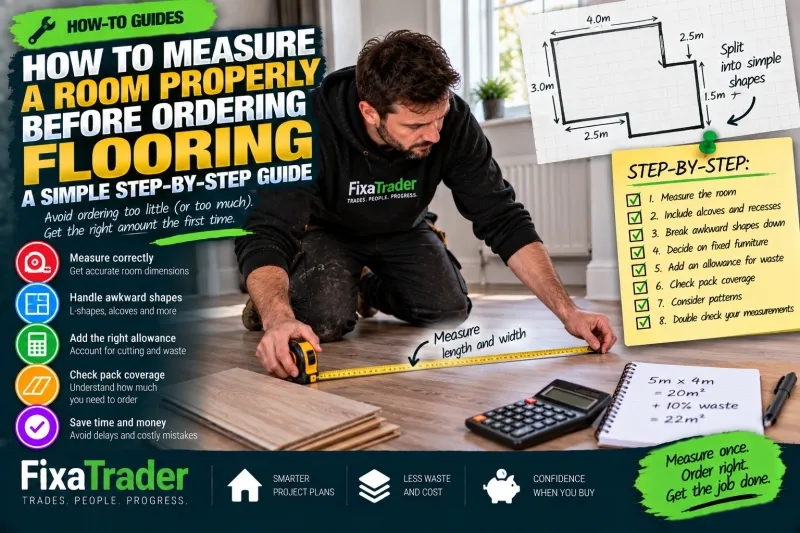
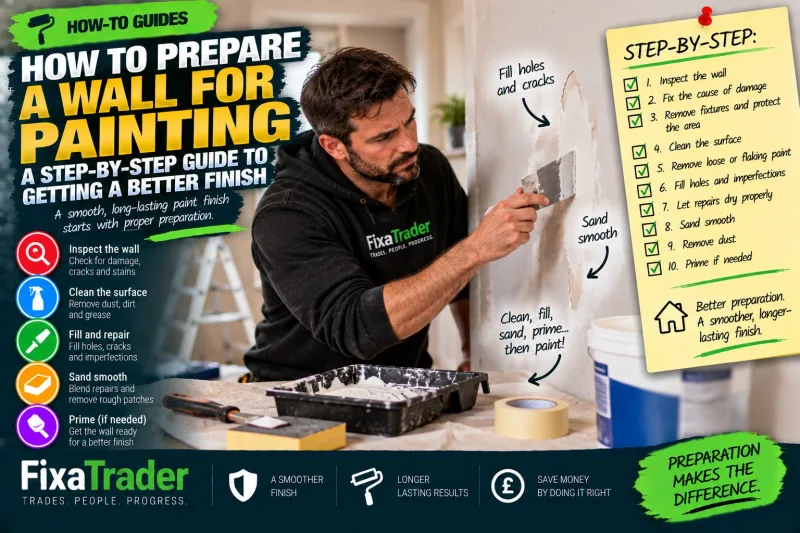
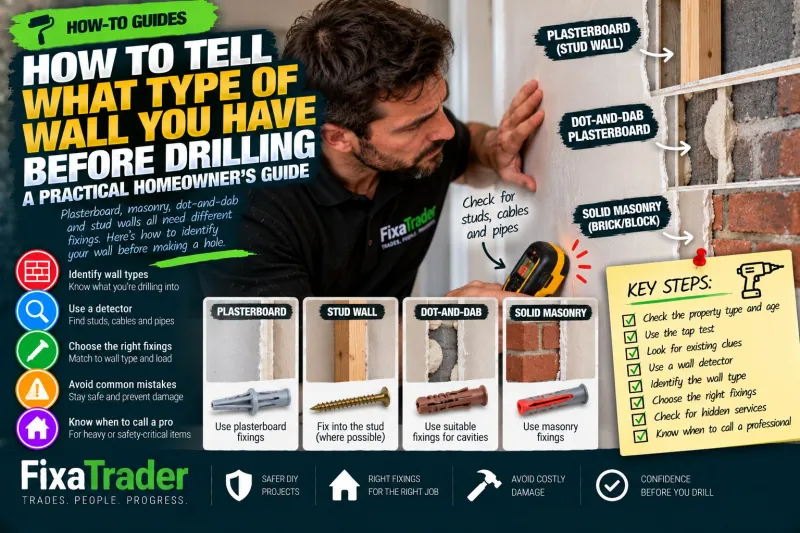
How to Build a Professional Trade Portfolio: A Step-by-Step Guide to Showcasing Your Work
You've completed hundreds of jobs. Your customers are happy. You know your trade. And you've spent years developing your skills. But when a potential customer a...
Or a picture of a finished bathroom buried somewhere in your camera roll.
The problem isn't that you lack experience.
It's that your experience isn't organised in a way that helps new customers understand it.
A professional portfolio solves that problem.
It provides visible evidence of the work you've completed, the types of projects you undertake and the standard you aim to deliver.
And you don't need expensive photography equipment, a marketing agency or hundreds of projects to create one.
You need a consistent process.Step 1. Decide What You Want Your Portfolio to Demonstrate
Before choosing photographs, think about the work you actually want to attract.
A portfolio shouldn't simply be a collection of everything you've ever done.
It should help potential customers understand your capabilities.
For example, an electrician might want to showcase:
Consumer unit replacements.
Lighting installations.
EV charging installations.
Commercial electrical work.
Fault-finding and remedial projects.
A landscaper might focus on patios, decking, fencing, garden transformations and drainage improvements.
A decorator could highlight preparation, interior finishes, exterior painting and restoration work.
The important question is:
"If someone looked at my portfolio for two minutes, would they understand the type of work I specialise in?"
Start with the services you want to be known for.
You can expand the portfolio later.Step 2. Choose Quality Over Quantity
You don't need fifty projects to make a good first impression.
Five well-documented jobs can be more useful than fifty unexplained photographs.
Choose projects that demonstrate different strengths.
Perhaps one shows technical complexity.
Another demonstrates attention to detail.
A third shows how you solved an unusual problem.
And another represents the type of work you regularly complete.
Avoid including projects simply because you have photographs available.
A blurry image of a half-finished installation doesn't necessarily help customers judge your capabilities.
Instead, prioritise work that you can explain clearly and represent accurately.
A smaller portfolio with useful context is often more convincing than a large gallery without any explanation.Step 3. Start Taking Before Photographs
One of the biggest portfolio mistakes happens before the job even begins.
You forget to photograph the original condition.
Then, when everything is finished, you realise you have nothing to compare it against.
Before starting suitable work, take a few photographs showing:
The overall area.
The condition before work.
Any visible problems.
Important details.
And the layout of the space.
For a bathroom renovation, that might include the existing fixtures and finishes.
For a roofing repair, it could include safely obtained photographs of the visible defect.
For a landscaping project, show the original garden layout.
Never take photographs in a way that compromises safety or customer privacy.
And don't delay urgent work simply to create portfolio content.
The purpose is to document the project when practical, not turn every job into a photography exercise.Step 4. Document the Work in Progress
Finished photographs show the result.
Progress photographs can show the work behind it.
Depending on your trade, useful examples might include:
Preparation.
Removal of damaged materials.
Substrate repairs.
First-fix installations.
Waterproofing stages.
Structural preparation.
Or other important stages before the finished surfaces are installed.
These photographs can be particularly valuable when significant work becomes concealed.
For example, a beautifully tiled bathroom doesn't show the preparation or waterproofing behind the tiles.
Likewise, a finished patio doesn't reveal the groundwork beneath it.
However, progress photographs should be accurate and relevant.
Don't claim that a photograph proves regulatory compliance or technical performance unless the appropriate evidence supports that claim.
A portfolio complements professional documentation; it doesn't replace testing, inspection or certification.Step 5. Take Better Finished Photographs
You don't need a professional camera to improve your portfolio.
A modern smartphone is usually sufficient.
The biggest improvements often come from basic habits.
Clean the area first. Remove appropriate waste, packaging and unnecessary equipment.
Use good lighting. Natural light can work well, provided it doesn't create excessive glare.
Keep the camera level. Crooked photographs can make otherwise excellent work look poorly aligned.
Show the whole project. Include at least one wider photograph rather than relying entirely on close-ups.
Capture important details. Show finishes, junctions and features that demonstrate workmanship.
Avoid excessive editing. Don't digitally remove defects or alter the appearance of completed work.
A useful starting point is three to five photographs per project.
One before image.
One or two progress images where relevant.
One overall finished image.
And one detail shot.
The exact number depends on the project.Step 6. Explain What the Customer Wanted
Photographs become much more meaningful when customers understand the original problem.
Start each portfolio entry with a short description of the goal.
For example:
"The homeowner wanted to replace an ageing timber deck with a lower-maintenance outdoor seating area that could be used throughout the year."
Or:
"The customer had been experiencing repeated electrical faults affecting part of the property and requested an investigation to identify the cause."
This gives the reader context.
It also demonstrates that you understand the customer's objectives rather than simply performing a technical task.
Keep descriptions factual.
Don't invent customer requirements or exaggerate the condition of the property to make the transformation appear more impressive.Step 7. Describe the Work You Actually Completed
Next, explain what you did.
You don't need to write an essay.
A few clear paragraphs are usually enough.
For example:
Project: Garden patio installation
Location: Nottingham
Work completed: Removed the existing surface, prepared the ground, installed the agreed sub-base and laid new paving with suitable drainage considerations.
Result: A new patio area with a more practical layout and improved access from the property.
The description should match the actual work.
If another contractor completed part of the project, don't present their contribution as entirely your own.
If you were responsible only for the electrical installation during a larger renovation, explain that.
Customers appreciate knowing what you personally delivered.Step 8. Highlight the Challenges You Solved
Not every project needs a dramatic story.
But where something required particular skill or judgement, explain it.
Perhaps access was restricted.
The original structure was uneven.
Existing materials had deteriorated.
The customer needed the work completed around normal business operations.
Or an unexpected issue required a change to the original plan.
Describe the challenge and how it was addressed.
For example:
"Once the existing flooring was removed, sections of the subfloor required additional preparation before the new finish could be installed. The revised work was agreed with the customer before proceeding."
That tells potential customers something useful.
It demonstrates problem-solving, communication and a considered approach to unexpected conditions.
Avoid making routine work sound unnecessarily complicated.Step 9. Get Permission Before Publishing
This step is essential.
Just because you've completed work at a property doesn't automatically mean you should publish photographs of it.
Ask for appropriate permission before using project images publicly.
Be particularly careful about:
House numbers.
Vehicle registration plates.
Personal photographs.
Children.
Valuables.
Security equipment.
Access arrangements.
And anything else that could identify the customer or expose private information.
Commercial projects may also involve confidentiality restrictions.
Permission to take photographs for your own records isn't necessarily permission to use them for advertising.
Make sure you understand what the customer has agreed to.
If permission isn't given, respect that decision.
You can still maintain appropriate private job records without publishing them.Step 10. Organise Projects So Customers Can Find Relevant Work
Once you've collected several projects, organisation becomes important.
A homeowner looking for a bathroom renovation probably doesn't want to scroll through forty unrelated jobs.
Group projects by useful categories.
For example:
Bathrooms.
Kitchens.
Electrical installations.
Roofing.
Landscaping.
Decorating.
Commercial projects.
Or specialist services.
If your business covers several locations, adding accurate location information can also help demonstrate where you've worked.
You don't need to publish a customer's full address.
A town or general area is often sufficient.
The goal is helping potential customers quickly find examples relevant to their enquiry.Create a Simple Portfolio Template
Consistency makes portfolio creation much easier.
Instead of writing every project from scratch, use a repeatable structure.
EXAMPLE PROJECT TEMPLATE
Project title: New Patio Installation in Nottingham
Customer goal: Replace an ageing patio with a practical outdoor seating area.
Work completed: Removed the existing surface, prepared the ground and installed new paving.
Challenges: Limited access for removing waste and delivering materials.
Result: A finished patio with a revised layout and improved usability.
Photographs: Before, preparation, installation and finished result.
Once you've completed a few entries using the same structure, documenting new projects becomes much faster.Should You Include Project Prices?
Sometimes, but not automatically.
Publishing an accurate budget range can help customers understand the scale of a project.
However, prices can be misleading without context.
A £12,000 kitchen installation might involve very different work from another project with the same headline price.
Materials, labour, access, location and scope all affect the cost.
If you include a price, explain what it represents and make sure you have permission where appropriate.
You don't need to disclose a customer's private financial arrangements simply to demonstrate the quality of your work.Use Your Portfolio Alongside Reviews
Photographs show what you've completed.
Reviews can provide another perspective on the experience of working with you.
Together, they can help potential customers understand both the result and the service.
A project showing a completed bathroom becomes more informative when accompanied by genuine feedback about communication, punctuality and workmanship.
But don't invent testimonials or imply that a review relates to a particular project unless it actually does.
Authenticity matters.
A small number of genuine reviews is more valuable than a collection of exaggerated claims.Turn Your Portfolio Into Part of Your Quoting Process
A portfolio shouldn't just sit online waiting for someone to discover it.
Use relevant examples when responding to enquiries.
If a customer asks about decking, send them a completed decking project.
If they're considering a full rewire, show suitable examples of electrical work you've undertaken.
This can help customers understand your experience before deciding whether to proceed.
It also makes your quotation more meaningful.
Instead of simply saying:
"We've done lots of these."
you can demonstrate relevant work.
The important word is relevant.
Sending twenty unrelated projects may be less useful than sharing two that closely match the customer's requirements.Keep Your Portfolio Updated
A portfolio can become outdated surprisingly quickly.
You change your services.
Develop new skills.
Start using different materials.
Or move towards more specialist work.
Yet the examples customers see are still from several years ago.
Make portfolio updates part of your normal workflow.
After completing a suitable project:
Select the best photographs.
Write a short description.
Confirm publication permission.
Upload the project.
And organise it under the relevant service.
You don't need to publish every job.
Aim to add examples that improve the overall quality and relevance of your portfolio.Avoid These Common Portfolio Mistakes
A few habits can undermine otherwise excellent work.
Only showing finished photographs: Customers can't always understand the scale of the transformation.
Using poor-quality images: Dark or blurry photographs can hide good workmanship.
Exaggerating results: Claims should reflect what was actually delivered.
Publishing without permission: Customer privacy should never be sacrificed for marketing.
Showing work outside your current capabilities: Make sure your portfolio accurately reflects the services you can offer.
Never updating old projects: Recent, relevant examples help customers understand your current work.
Making everything about appearance: Explain the practical problem solved, not just how attractive the finished result looks.Your Portfolio Should Grow With Your Business
You don't need to create the perfect portfolio in one weekend.
Start with the work you already have permission to showcase.
Choose five strong projects.
Organise the photographs.
Write clear descriptions.
Explain the customer goals and the work completed.
Then build a habit of documenting suitable projects as they happen.
Over time, your portfolio becomes more than a gallery.
It becomes a record of your experience, the problems you've solved and the standards you bring to your work.
For tradespeople building their professional reputation, that can be one of the most useful assets they develop.
Your completed work is evidence of what you can do — a good portfolio makes that evidence easy for the next customer to see, understand and trust.
0 Comments
No comments yet — be the first to share your thoughts.