How to Bleed a Radiator: An Easy Step-by-Step Guide for Homeowners
The easiest way to book quality trades
If you've noticed cold spots on your radiators, strange gurgling noises, or rooms that just won't warm up properly, you likely have trapped air in your heating system. Learning how to bleed a radiator is one of the simplest yet most effective maintenance tasks you can perform to restore your home's heating efficiency. This comprehensive guide will walk you through everything you need to know about bleeding radiators, from understanding why it's necessary to mastering the step-by-step process. While bleeding radiators is a straightforward DIY task, some heating issues require professional expertise. If you're experiencing broader heating problems, you may want to learn about can a plumber fix a boiler issues.
Why You Need to Bleed Your Radiator for Optimal Heating Efficiency
Bleeding your radiator is essential for maintaining an efficient central heating system. Over time, air naturally accumulates inside radiators and heating pipes, creating pockets that prevent hot water from circulating properly. When air becomes trapped, it rises to the top of the radiator, displacing the hot water and creating cold spots.
The consequences of not bleeding your radiators extend beyond just discomfort. Trapped air forces your boiler to work harder to heat your home, as the reduced water circulation means less heat transfer to your rooms. This increased workload translates directly into higher energy bills and unnecessary wear on your heating system. Your boiler may need to run for longer periods to achieve the desired temperature, consuming more gas or electricity in the process. If your boiler is struggling even after bleeding radiators, it may indicate a more serious issue that requires professional attention. Learn more about common boiler problems plumbers can fix.
Additionally, air in your heating system can cause corrosion over time, potentially shortening the lifespan of your radiators and pipes. You might also notice irritating gurgling or bubbling sounds coming from your radiators, which indicate air moving through the system. By regularly bleeding your radiators, you ensure maximum heating efficiency, lower energy costs, and a quieter, more comfortable home environment.
Essential Tools for Radiator Maintenance: Get Your Radiator Bleed Key Ready
Before you begin bleeding your radiators, you'll need to gather a few simple tools. The good news is that radiator maintenance requires minimal equipment, and most items are inexpensive and readily available at hardware stores or online.
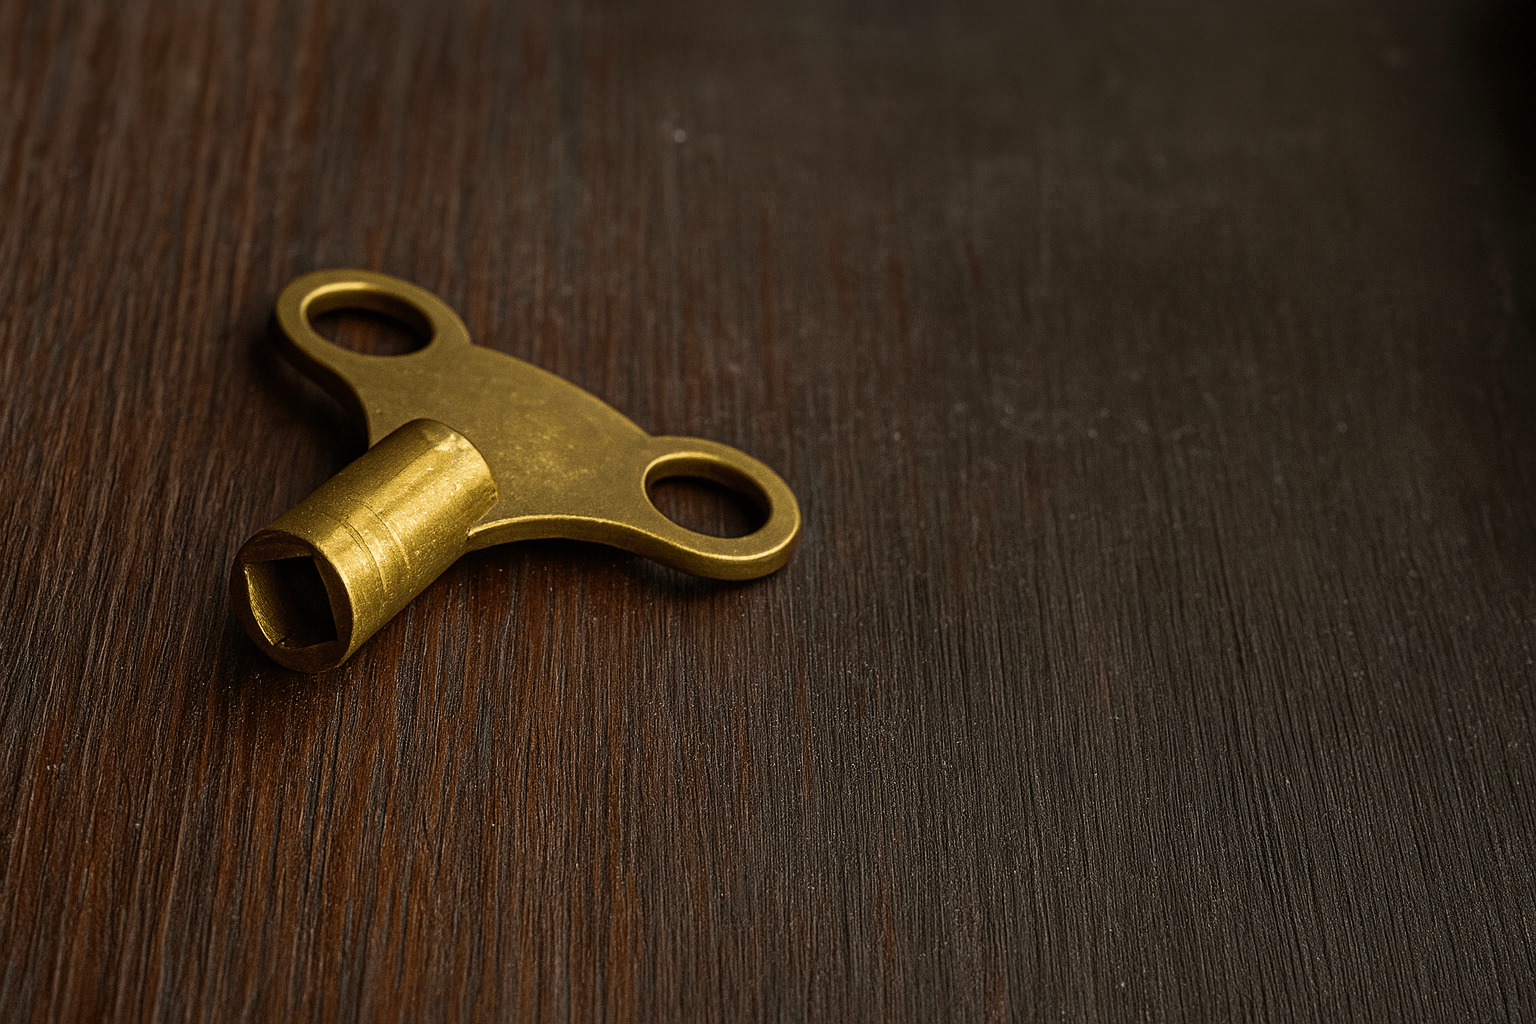
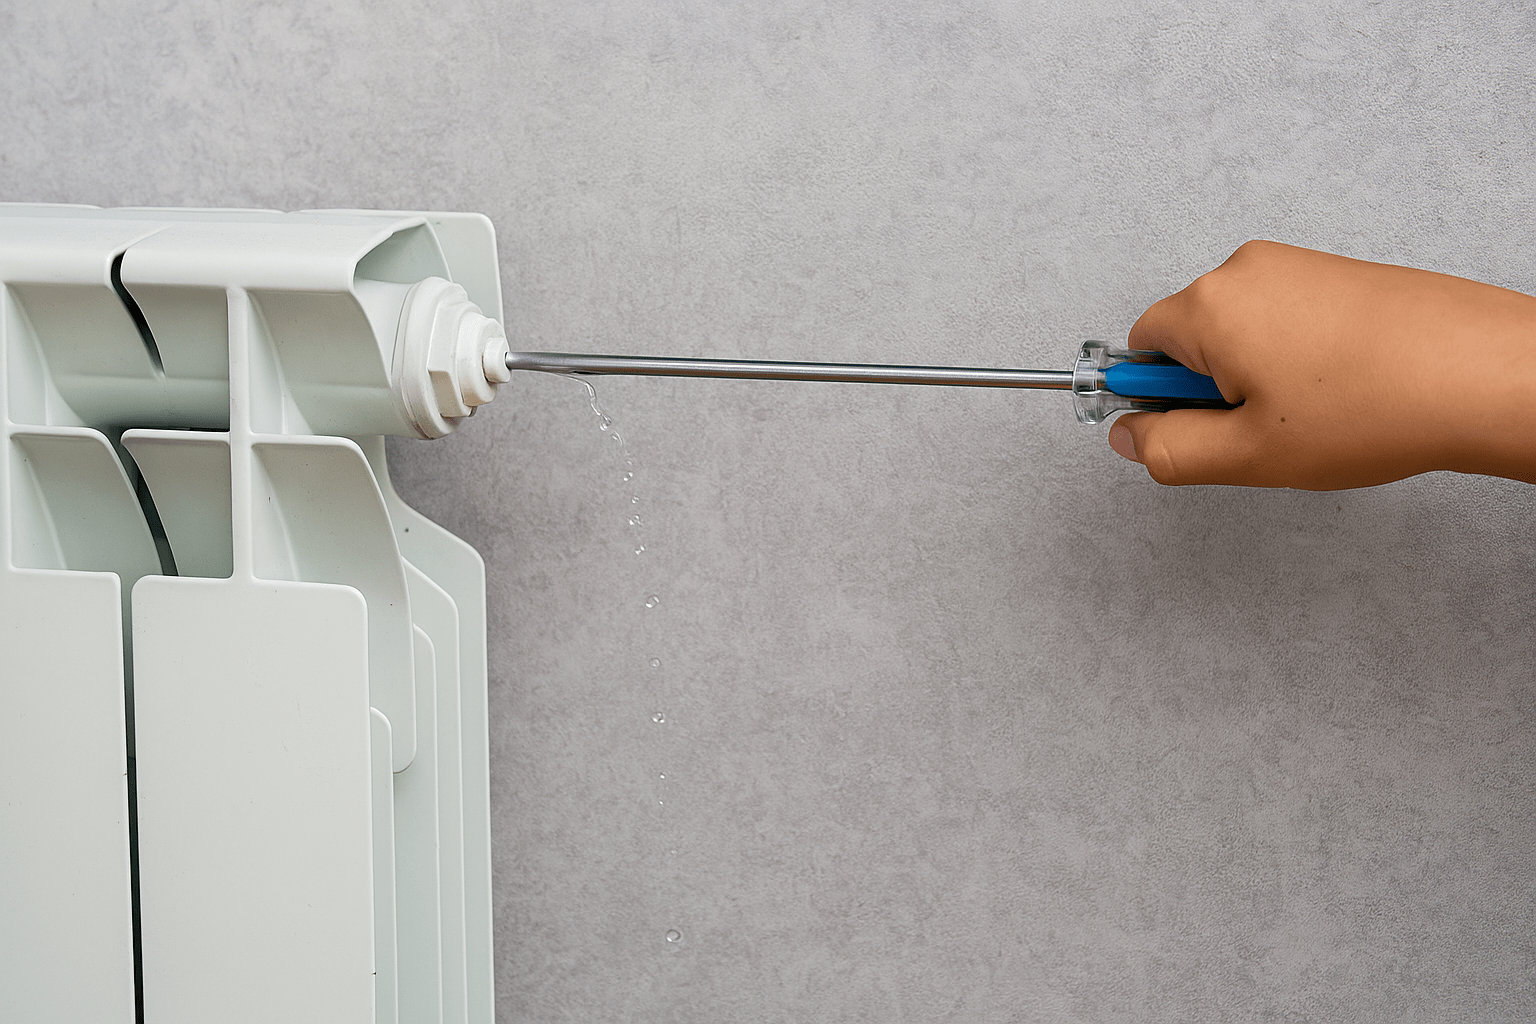
The most important tool is a radiator bleed key, which is specifically designed to fit the square valve found on most modern radiators. These small, cross-shaped keys typically cost just a few pounds and are available at any DIY store or plumbing supplier. Some newer radiators may have a slot-head valve that can be opened with a flathead screwdriver instead.
You'll also need an old towel or cloth to catch any drips and protect your flooring. A small container or bowl is useful for collecting water that escapes when you bleed the radiator, particularly if the valve releases more water than expected. Keep a bucket nearby as a backup if you're bleeding multiple radiators or if your system hasn't been bled in a long time.
Having some kitchen roll or absorbent cloths on hand is also advisable for wiping up any spills immediately. If you have carpeted floors, consider placing a plastic sheet or additional towels around the base of the radiator as extra protection. Finally, wearing old clothes or an apron is sensible, as you may splash water on yourself during the process.
Exploring Radiator Bleed Valve Types: Choose the Right One for Your System
Need a plumbing professional?
Get instant quotes from 3-5 vetted local tradespeople. Compare prices, reviews, and availability—all in one place.
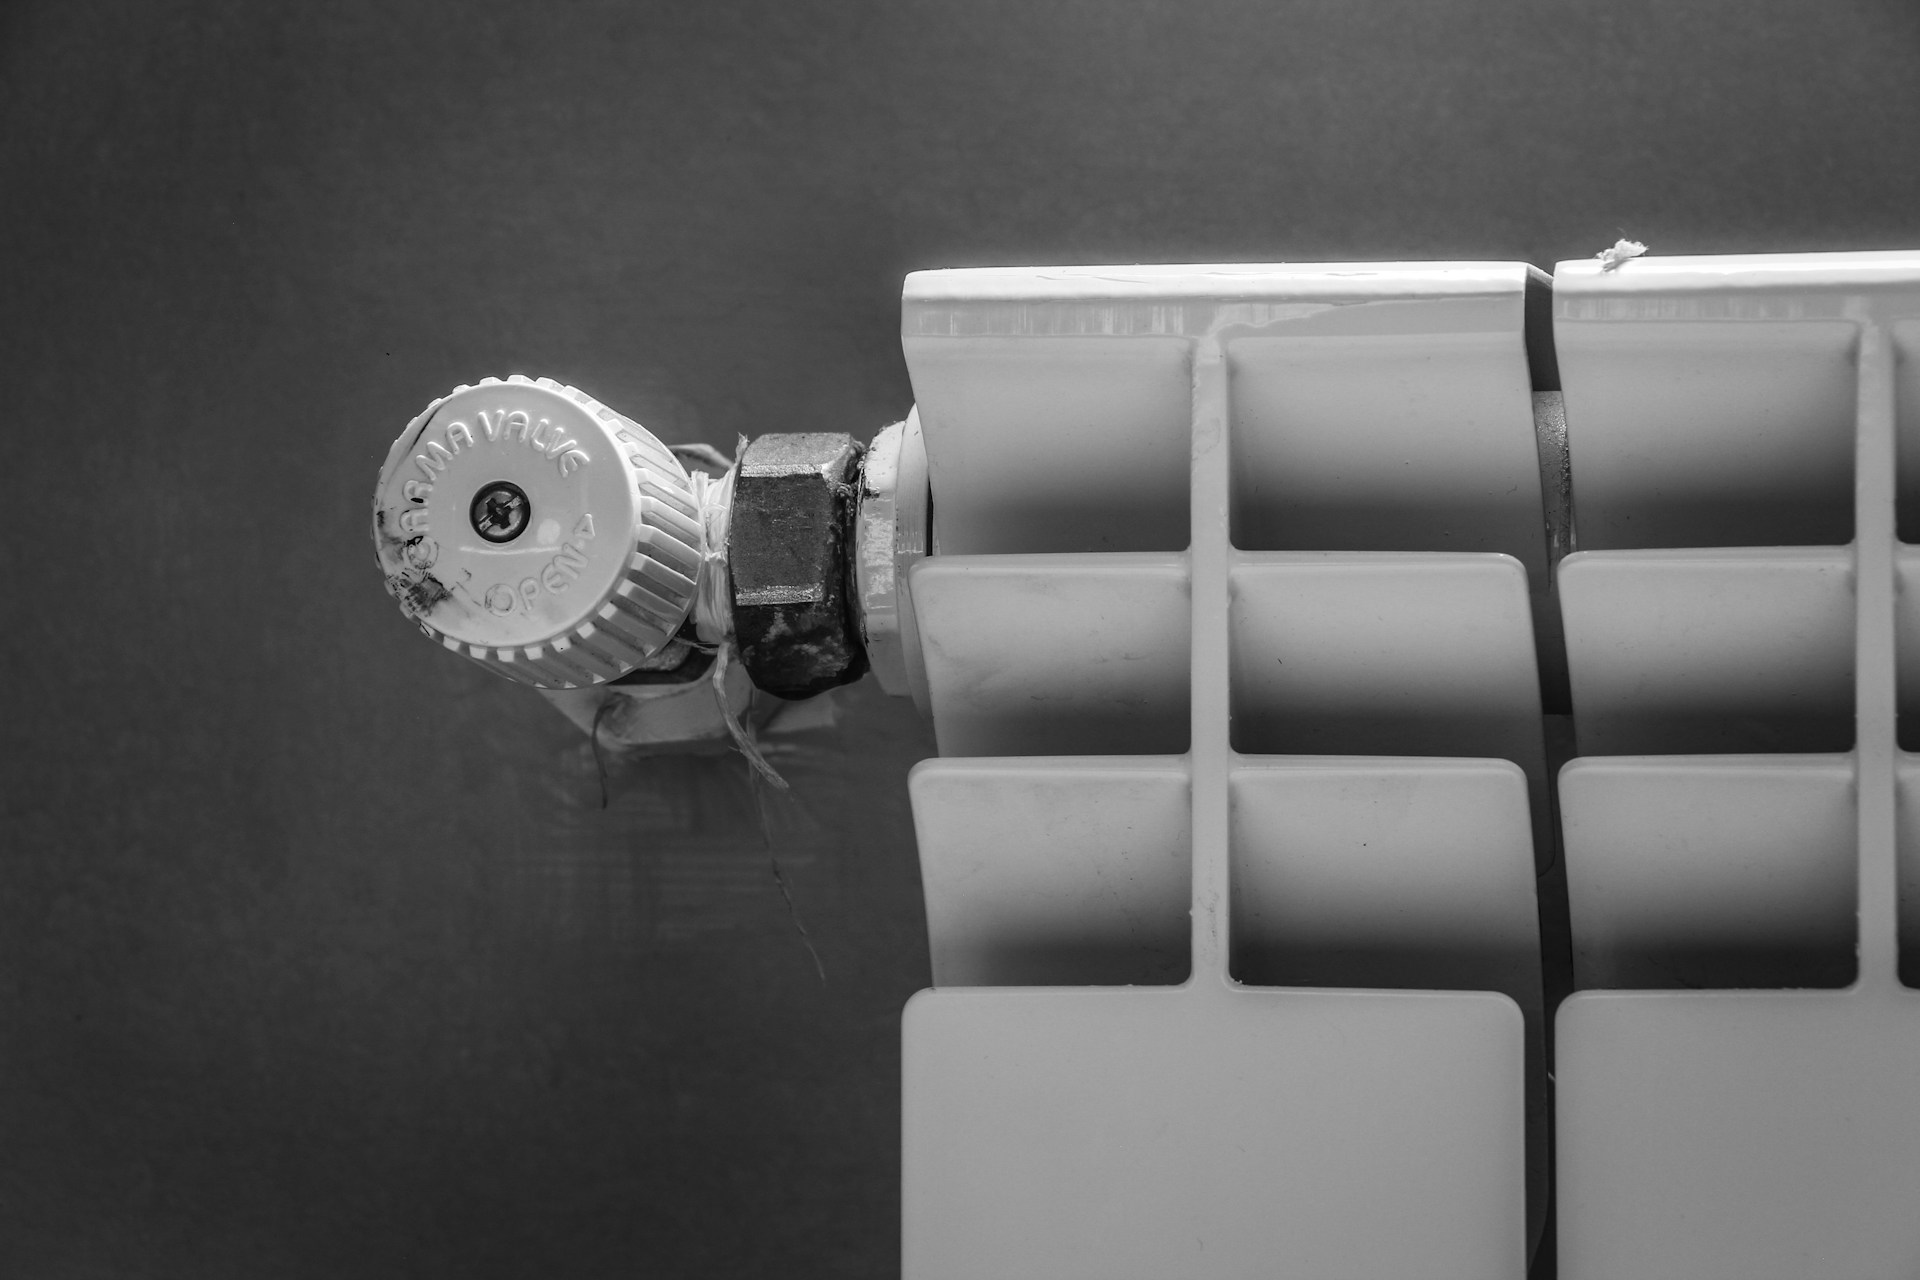
Understanding the different types of radiator bleed valves helps you prepare the right tools and approach for your specific radiators. The most common type is the traditional square valve, which requires a radiator bleed key to open. This design features a small square pin in the centre of the valve that the key fits onto, allowing you to turn it anti-clockwise to release air.
Some modern radiators feature slot-head valves, which have a simple groove that accommodates a flathead screwdriver. These are becoming increasingly popular because they eliminate the need for a specialized key. However, you should still use caution not to over-tighten these valves, as the threads can be delicate.
Older radiator systems, particularly in period properties, may have different valve designs altogether. Some vintage radiators use a hexagonal valve that requires a small spanner or Allen key. In rare cases, you might encounter a valve that needs pliers to turn it, though this is less common in residential heating systems.
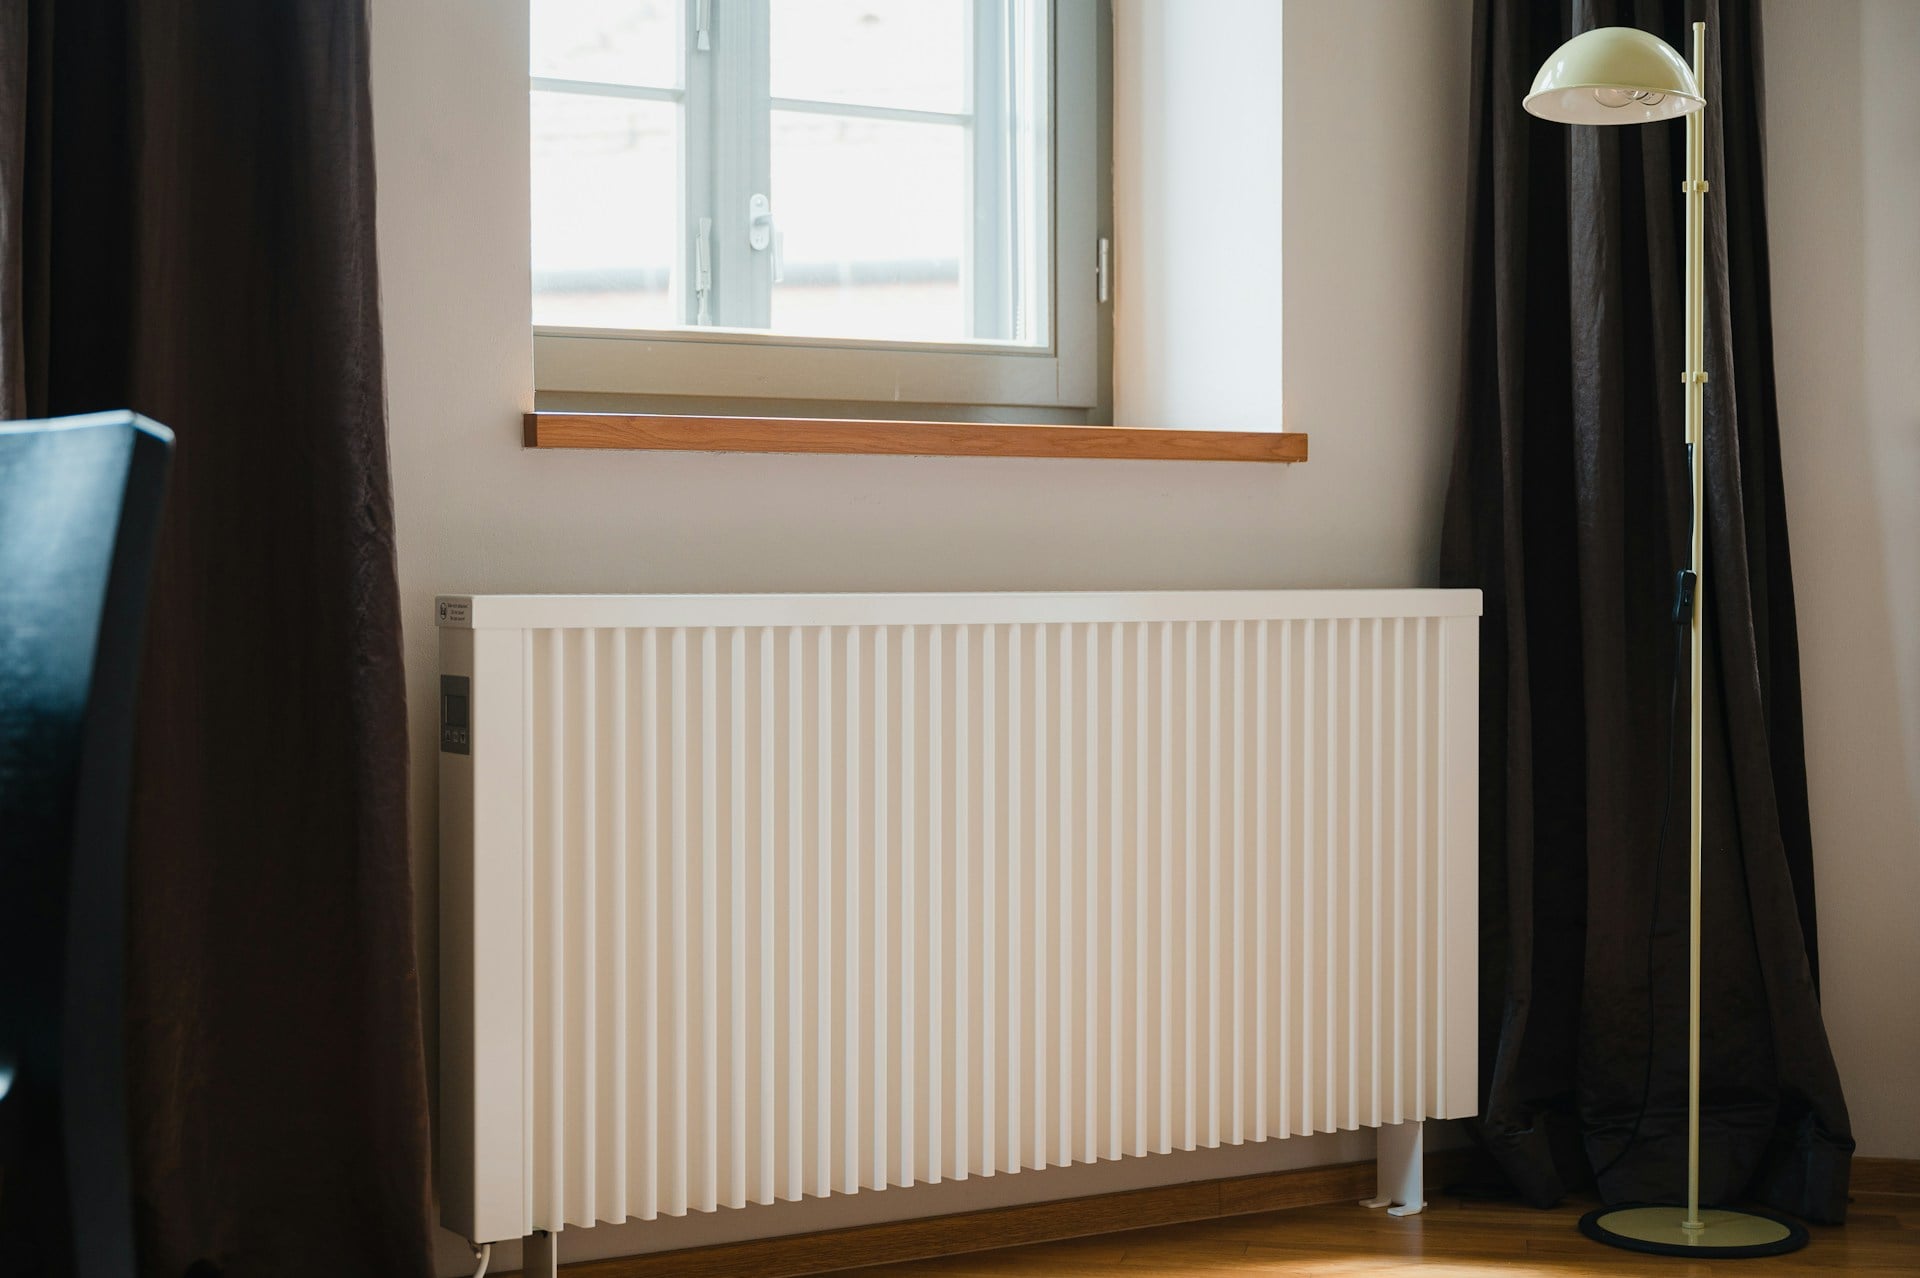
Thermostatic radiator valves (TRVs) are located at the bottom of radiators and control the temperature, but they are separate from bleed valves. The bleed valve is always located at the top of the radiator, usually at one of the upper corners. Never confuse the TRV with the bleed valve, as they serve entirely different purposes. If you're unsure which valve is which, the bleed valve is always smaller and positioned at the highest point of the radiator.
Step-by-Step Process: How to Effectively Bleed Your Radiator
Bleeding a radiator is a straightforward process that most homeowners can complete in just a few minutes per radiator. Follow these steps carefully to safely and effectively remove trapped air from your heating system.
Step 1: Turn Off Your Central Heating
Before you begin bleeding radiators, switch off your central heating system and wait for the radiators to cool down completely. This typically takes 30 to 60 minutes. Working with cool radiators is safer and prevents scalding from hot water. It also allows the water pressure to settle, making it easier to identify which radiators contain trapped air.
Step 2: Identify Which Radiators Need Bleeding
Once the heating system is off and the radiators are cool, turn the heating back on briefly and carefully feel each radiator. Start at the bottom and move your hand up to the top. If the bottom is hot but the top remains cold, trapped air is present and that radiator needs bleeding. Make a note of all radiators with cold spots so you can bleed them systematically.
Step 3: Prepare Your Work Area
Lay towels or cloths on the floor beneath the bleed valve to protect your flooring from water drips. Position your container directly under the valve to catch any water that escapes. Have your radiator bleed key or screwdriver ready, along with additional cloths for wiping.
Step 4: Locate the Bleed Valve
The bleed valve is located at the top of the radiator, usually at one of the upper corners. It's a small valve with either a square pin or a slot head. Make sure you've identified the correct valve before proceeding.
Step 5: Open the Bleed Valve Slowly
Insert your radiator bleed key onto the square pin or your screwdriver into the slot. Turn the valve anti-clockwise very slowly, usually no more than a quarter to half turn. You should hear a hissing sound as the trapped air begins to escape. Keep the valve steady and don't open it fully, as this can release too much water too quickly.
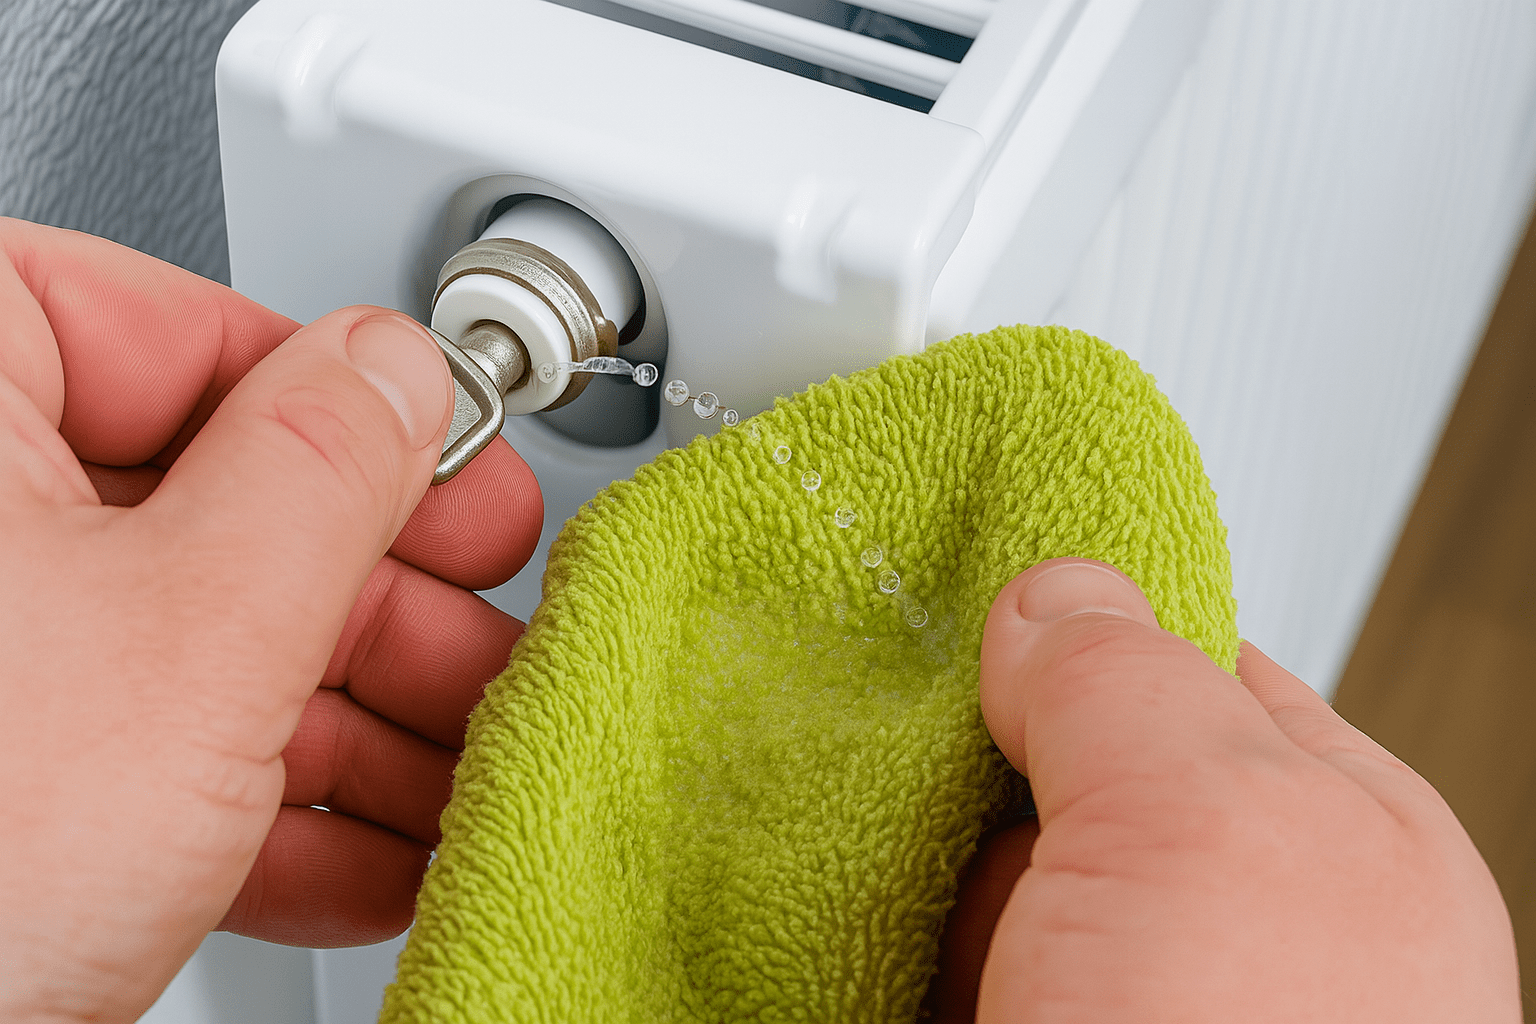
Step 6: Wait for Water to Appear
Continue holding the valve in position while the air escapes. The hissing sound should be continuous at first. When the air has been fully released, you'll notice the hissing stop and water will begin to trickle out. This water should be a steady drip rather than a spray. As soon as you see water coming out consistently, the air has been removed.
Ready to hire a trusted plumbing?
Compare quotes, read verified reviews, and hire with confidence. Our platform connects you with local professionals who are ready to help.
Instant Quotes
Responses within 24 hours
Verified Reviews
Real customer feedback
No Commitment
Choose when you're ready
Step 7: Close the Valve
As soon as water starts flowing steadily from the valve, turn the key or screwdriver clockwise to close the valve. Tighten it firmly, but don't over-tighten, as this can damage the valve mechanism. A snug closure is sufficient to prevent leaks.
Step 8: Wipe Up Any Spills
Use your cloths to wipe away any water around the valve and check the floor for drips. Make sure the valve is completely closed and not leaking.
Step 9: Check Your Boiler Pressure
After bleeding one or more radiators, check your boiler's pressure gauge. Bleeding radiators releases water from the system, which can lower the pressure. Most boilers operate best at a pressure between 1 and 2 bar. If the pressure has dropped below 1 bar, you'll need to repressurise your boiler according to the manufacturer's instructions, which typically involves opening the filling loop valve until the pressure rises to the correct level. Low water pressure can affect your entire plumbing system. If you're experiencing pressure issues beyond just your heating, check our guide on how plumbers fix low water pressure.
Step 10: Repeat for Other Radiators
If you have multiple radiators that need bleeding, work your way around the house, starting with the radiators on the ground floor and working upwards. In systems with multiple floors, always bleed downstairs radiators first, as this helps maintain proper pressure throughout the system.
Step 11: Turn the Heating Back On
Once you've bled all necessary radiators and checked the boiler pressure, turn your central heating back on. Monitor the radiators as they warm up to ensure they're heating evenly from top to bottom. The improvement should be noticeable within 10 to 15 minutes.
Troubleshooting Common Issues: What to Do After Bleeding Your Radiator
Sometimes bleeding your radiator doesn't immediately solve all heating problems. If you've followed the steps correctly but are still experiencing issues, here are some common problems and their solutions.
Radiator Still Cold After Bleeding
If your radiator remains cold at the top even after bleeding, there may be a more significant blockage in the system. Sludge buildup inside the radiator can restrict water flow and prevent proper heating. This issue typically requires a power flush, where a professional uses specialized equipment to force water through the system at high pressure, dislodging and removing accumulated debris. Alternatively, a single radiator may need to be removed and flushed individually.
Another possibility is that the radiator valve itself is faulty or stuck. If the inlet valve isn't opening properly, hot water cannot enter the radiator. Try adjusting the thermostatic radiator valve (TRV) or lockshield valve to see if this improves flow. If the valve is seized, it may need to be replaced by a qualified plumber. Before calling a professional, use our plumbing cost calculator to understand typical rates for radiator and heating repairs in your area.
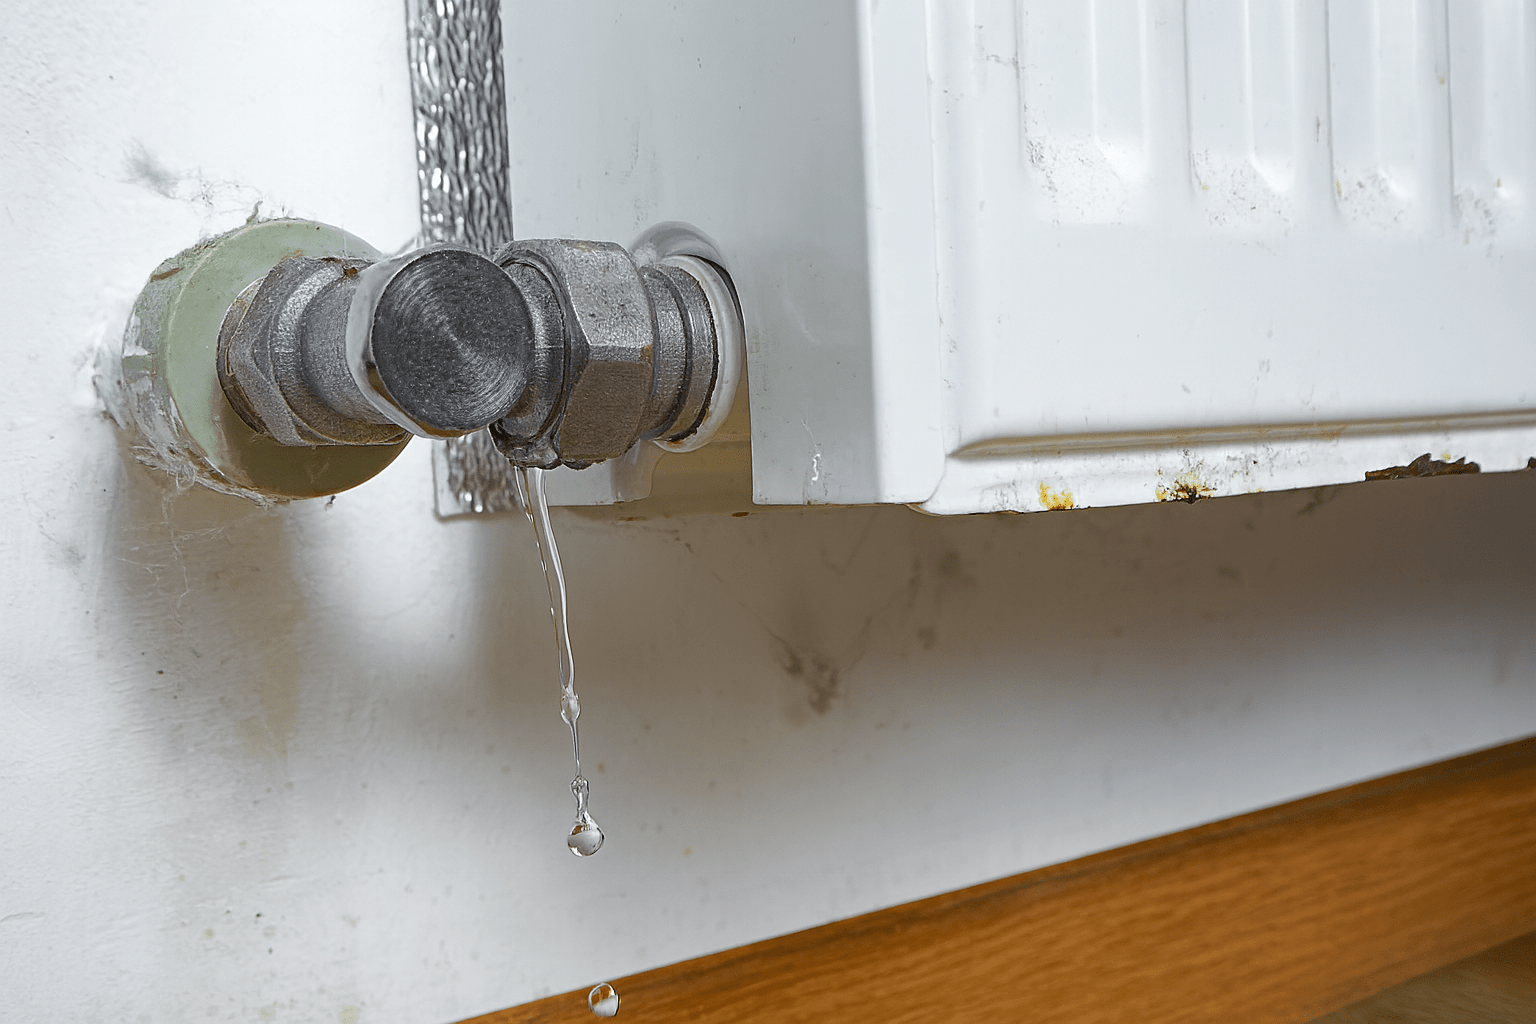
Water Leaking from the Bleed Valve
If water continues to drip from the bleed valve after you've closed it, the valve may not be fully tightened or could be damaged. Try tightening it slightly more but be careful not to force it. If the leak persists, the valve's internal washer may be worn and need replacing. You can purchase replacement bleed valves from plumbing suppliers or contact a plumber to fit a new one. As a temporary measure, you can wrap PTFE tape around the valve thread, but this is not a permanent solution.
No Water Coming Out When Bleeding
If you open the bleed valve but no air or water comes out, your boiler pressure may be too low to begin with. Check the pressure gauge on your boiler, if it's below 1 bar, you'll need to repressurise the system before attempting to bleed radiators again. Alternatively, there may be a blockage preventing any fluid from reaching the radiator, which would require professional investigation.
Boiler Pressure Drops Quickly After Bleeding
A rapid drop in boiler pressure after bleeding radiators suggests a leak somewhere in your heating system. Check around all radiator valves, pipe joints, and the boiler itself for signs of water. Even a small leak can cause significant pressure loss over time. If you cannot locate the leak visually, contact a heating engineer to perform a thorough inspection. Persistent pressure problems may indicate issues with your water heater or boiler. Learn when to call a plumber for water heater repair.
Some Radiators Heat Up While Others Don't
If some radiators heat up perfectly while others remain cold even after bleeding, this indicates a balancing issue in your system. Balancing involves adjusting the lockshield valves on each radiator to ensure hot water is distributed evenly throughout the system. This process is more complex than bleeding and often requires a professional to achieve optimal results, as it involves measuring temperature differences and making precise adjustments.
Strange Noises Continue After Bleeding
If you still hear gurgling, banging, or kettling noises after bleeding your radiators, there may be other issues at play. Kettling, which sounds like a kettle boiling, often indicates limescale buildup in the heat exchanger of your boiler. This requires descaling or potentially replacing the heat exchanger. Banging noises could suggest loose pipes or incorrectly sized pipe work, which would need professional attention.
Find the Right Plumber to Bleed Your Radiator: Free Quotes with FixaTrader
While bleeding a radiator is generally a straightforward DIY task, there are situations where professional help is advisable or necessary. If you're uncomfortable working with your heating system, have mobility issues that make accessing radiator valves difficult, or have discovered problems beyond simple air locks, hiring a qualified plumber is the sensible choice.
FixaTrader connects homeowners with trusted, vetted plumbers in their local area. Whether you need a single radiator bled, your entire system balanced, or a power flush to remove sludge buildup, our network of professionals can help. Getting started is simple: submit your job details through our website, and you'll receive free, no-obligation quotes from multiple plumbers in your area.
This allows you to compare prices, read reviews from previous customers, and choose the tradesperson who best suits your needs and budget. All plumbers on the FixaTrader platform are verified and insured, giving you peace of mind that your heating system is in capable hands. Many homeowners find that hiring a professional for more complex radiator maintenance, particularly when dealing with older systems or persistent problems, saves time and prevents costly mistakes.
Additionally, a qualified plumber can inspect your entire heating system while bleeding your radiators, potentially identifying issues before they become expensive emergencies. They can also perform preventative maintenance like power flushing and inhibitor treatment to keep your system running efficiently for years to come.